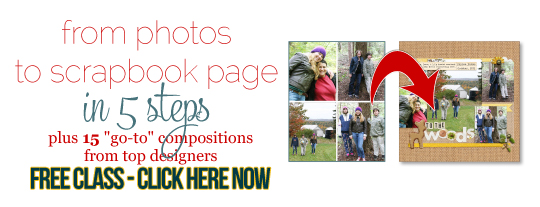
Building a Basic Scrapbook Page
Want to get started scrapbooking but not sure how to start?
Well, I’ve put together several simple steps that will help you create a basic page to showcase your photos.
A basic design or layout should look fabulous in any album.
1. Organise and choose your photos
Start organizing your photos into family groups or a particular theme or event.
Make sure that you have copies of all your pictures and then put all the originals in a very safe place.
More information on how to store and preserve your photos.
|
|
When it comes to family history scrapbooking, it can be very hard to choose which ones to add to your pages because they all tell a story about history. It really doesn't matter - you can use all of them if you want to. It will just take more time to finish. And, as long as you are enjoying yourself then it doesn't matter how long it takes. |
2. Choose a theme for your page
Now decide if your scrapbook page will have a particular theme or focus and whether it will be part of an album.
Before beginning it's important to have a specific focus so that the album doesn't become disjointed and too difficult for the readers to understand.
You might want to choose to scrapbook your family as you know it now, including your extended family. You might choose to make layouts of the ancestors of one particular branch of the family tree.
There are lots of ideas for your first page:-
- Photos of your grandparents as you remember them.
- Photos of your parents when they were kids.
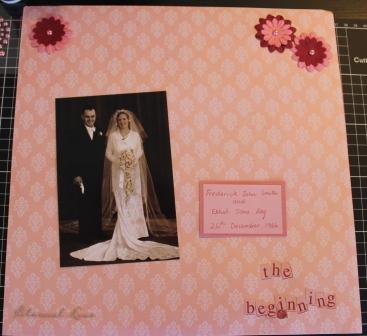
- Your parents or grandparents wedding photos.
- Maybe you want to start with an autobiography album – with photos from birth to present.
- Military service - you can include photos of the medals, uniforms or documents.
- The family tree with small passport size photos on each branch
More information on themes for pages and albums.
3. Get your tools and supplies ready
You're going to need to get your acid-free paper, scissors or paper cutters, cutting mat, acid-free adhesives and embellishments.

More information on tools and supplies
4. Start laying out the photos
Now that you have all of the items together on a table - photos, album, embellishments, adhesives and paper - it's time to put your photos where you want them.
Start by looking at the photos. Think about the story you want to tell about the photo. You may want to keep in mind that this may be seen by your grandchildren or great-grandchildren and more generations to come.
How do you want to tell these family members about the people in the photos?
Ideas usually start flowing once you think of the page in these terms. If the ideas don’t flow, select a piece of paper and place the photos on the paper and see what comes to mind.
You can add your photos to the cardstock and play around with the placement.
Alternatively, you can work with a layout sketch. You can sketch your own layout or you can search the internet for other peoples layouts and get ideas that way. There are even some books that have lots of sketches that you can follow. They are almost like a recipe in a cookbook.
Next - putting it all together
Want to know how to scrapbook your family history digitally, below is a great book to get you started.